

I have watched more campers fight with a folding cot in the dark than I can count. Nine seasons as a campground host at an Ozarks state park in northern Arkansas meant I walked the loop at dusk, checking roughly forty occupied campsites a night, and a cot fight was one of the most reliable things I'd see on any given evening. Somebody rolls into a site after dark, pulls a folded cot out of the truck bed, and spends the next fifteen minutes wrestling with crossbars they can't see, usually while getting pinched at least once.
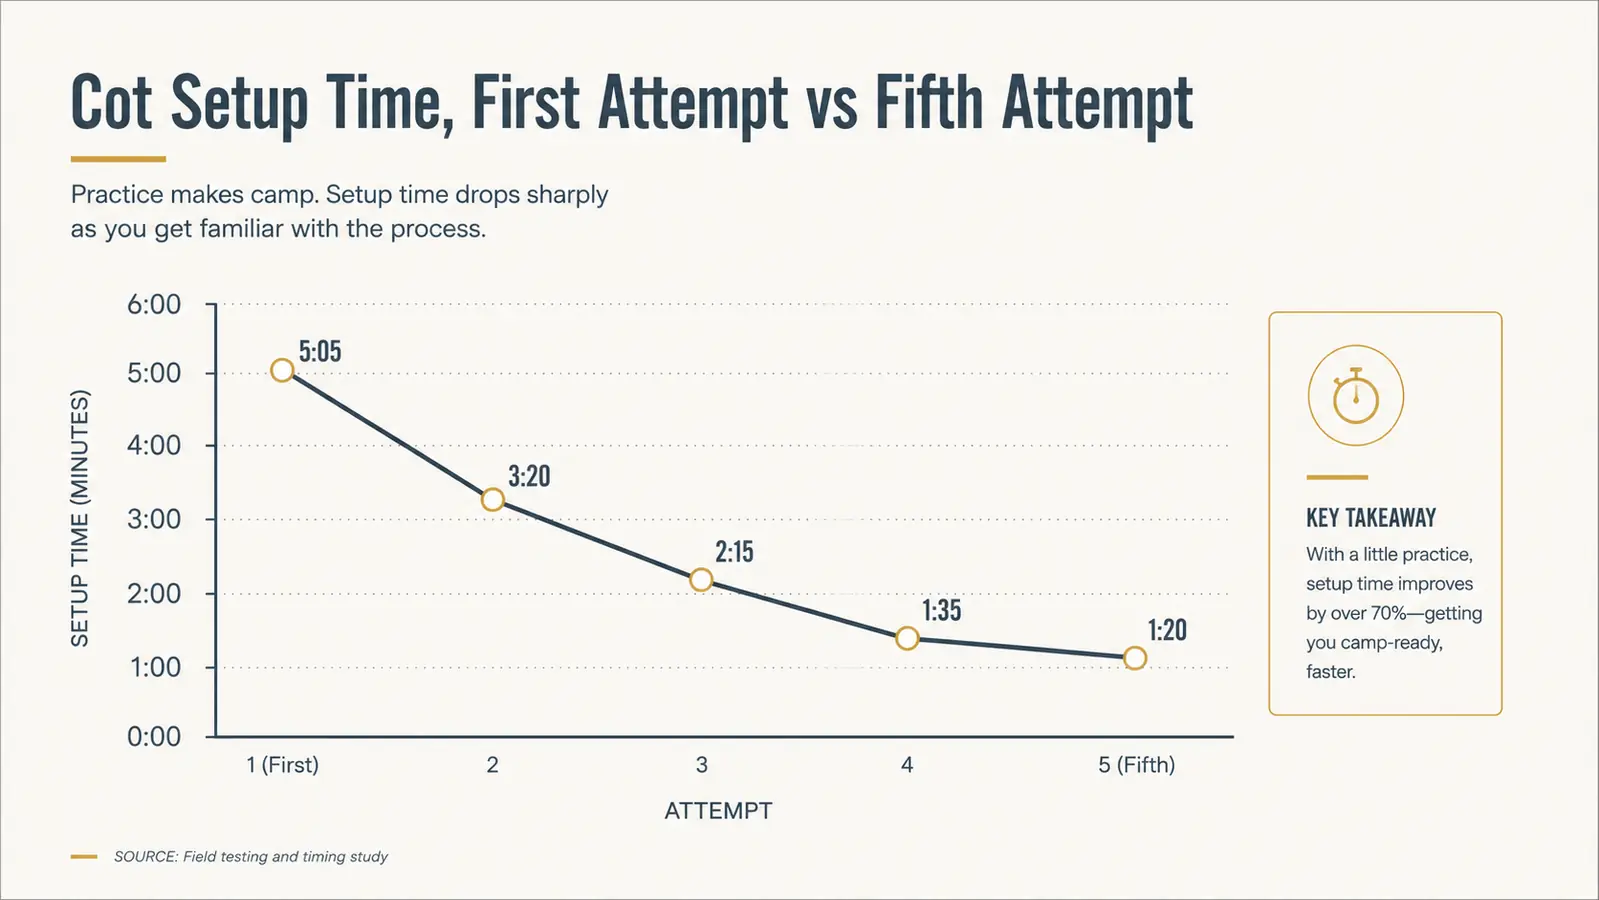
It doesn't have to go that way. A camping cot like the ARAER Camping Cot I keep in my own 2011 Toyota Tacoma sets up in under two minutes once you know the order to do things in, and there's exactly one step that causes almost every pinched finger I've ever seen at a campsite. I'll walk you through the whole process the way I'd talk a new camper through it if I caught them mid-fight on Loop B, including where that pinch point is and how to avoid it.
Start with a cot that's actually built for fast setup
The ARAER Camping Cot folds into a compact carry bag and is rated to 450 pounds, with a leg and crossbar system that goes together in about the order I'll walk through below. Check today's price on Amazon before your next trip.
Amazon Check Today's Price on Amazon →Step 1: Pick flat, cleared ground before you unfold anything
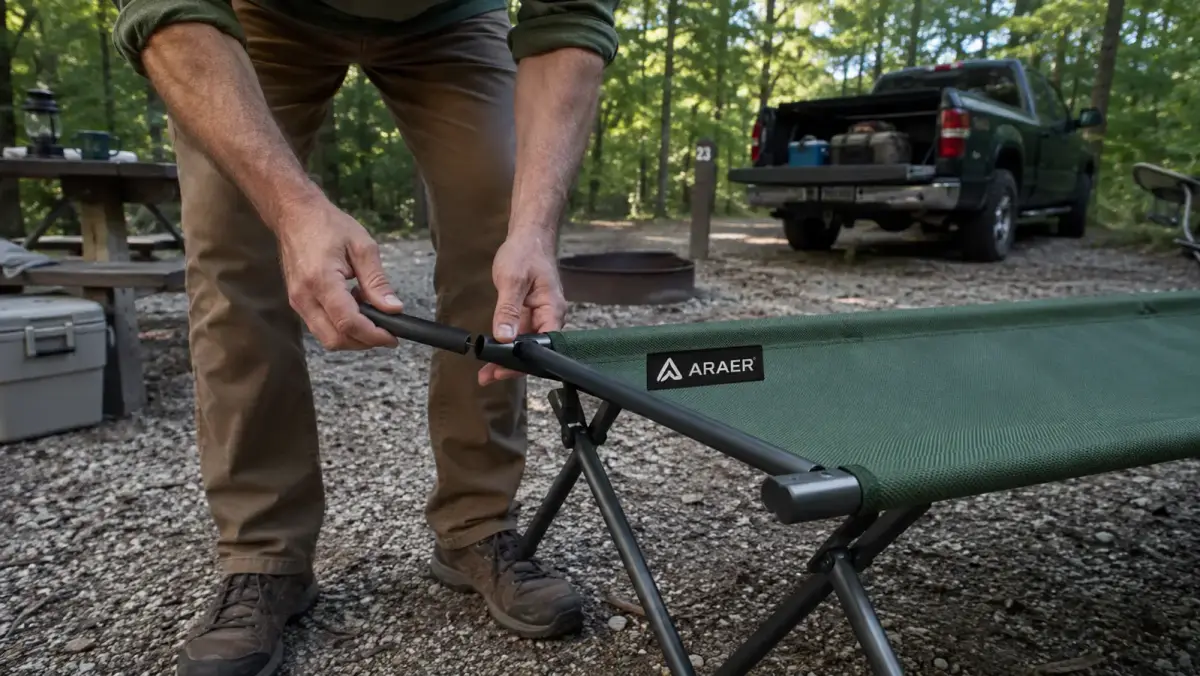
The single biggest time sink I've watched campers create for themselves happens before the cot ever comes out of the bag. They unfold it on uneven or rocky ground, get it half assembled, then realize it's rocking on one leg and have to fold it back down and start over somewhere else. Pick your spot first. Walk the ground with your boot, feel for roots and rocks, and clear anything that would sit under a leg.
A cot needs less flat space than a tent, but it's less forgiving of a slope than a sleeping pad on the ground. Even a gentle grade will have you sliding toward the low end of the frame all night. If your site has one obviously flatter patch, that's where the cot goes, even if it means the cot and the tent aren't lined up the way you pictured. I've checked enough sites at dusk to tell you nobody regrets the flat spot the next morning.
Think about water too, not just level ground. A cot sits high enough off the dirt that it won't sit in a puddle the way a ground pad would, but the site around it can still turn into a runoff channel in a hard rain. I've walked past more than one tent where the cot inside stayed bone dry while the owner's boots by the door were sitting in an inch of water, because nobody looked at where the ground actually sloped before pitching. If you're setting the cot inside a tent, pick the tent spot with the cot's footprint in mind, not just the tent's.
Step 2: Unzip the bag fully and lay the cot out flat first
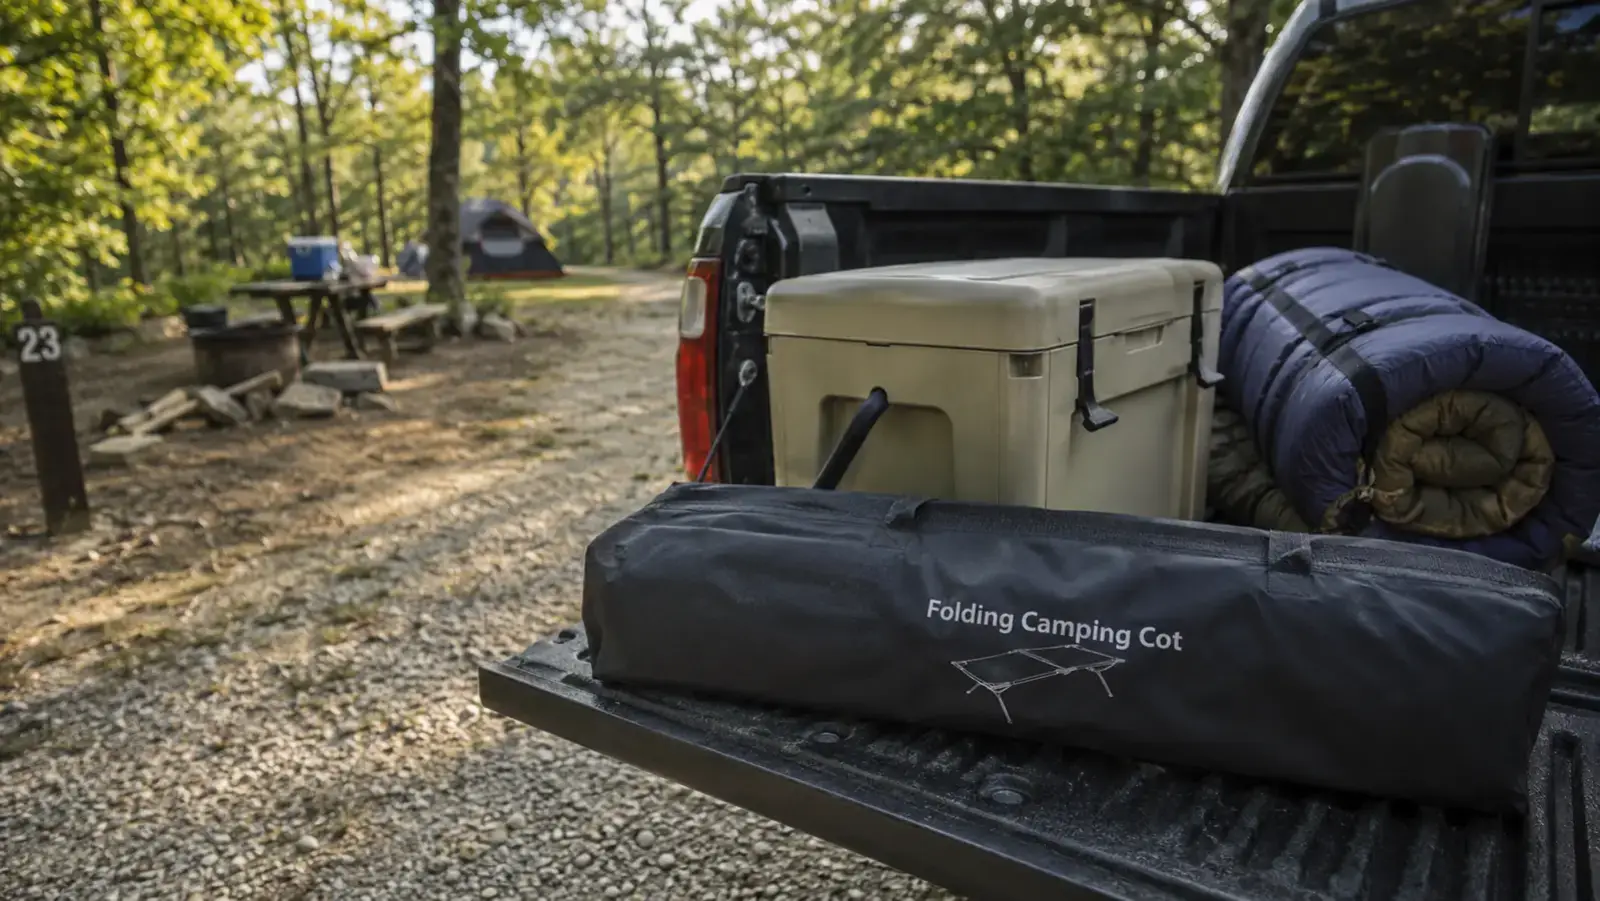
Don't try to pull the cot half out of the bag and start unfolding it in midair. Unzip the carry bag all the way, slide the whole folded cot out, and lay it flat on the ground in the spot you cleared. This sounds obvious, but I've watched more than one camper try to unfold a cot while holding it up off the ground, fighting gravity the entire time for no reason.
With the ARAER cot folded flat on the ground, you'll see the fabric bed accordion-folded between the X-shaped leg frames at each end. Open the fold out to its full length first, stretching the fabric bed out flat before you touch a single leg. Getting the length right before you start on the legs keeps the frame from binding later, which is where a lot of the fighting-in-the-dark problem starts.
Step 3: Stand up the leg frames at each end, one at a time
Once the cot is stretched out flat, go to one end and pull the X-shaped leg frame up until it locks into its upright position. Most cots, this one included, have a spring-loaded pin or a simple hinge stop that clicks or catches when the legs are fully open. Don't stop halfway because it feels close enough. A leg frame that isn't fully locked will fold back under weight, and that's not a small problem, that's a cot collapsing under you at two in the morning.
Do the same at the other end. At this point you should have a cot with both leg frames standing up and locked, connected by the fabric bed stretched between them, but still loose and a little wobbly because the crossbars that lock the whole frame square haven't gone in yet. That wobble is normal. It's not broken, it's just not finished.
If either leg frame feels stiff going up for the first time, that's usually just factory grease and a brand-new hinge that hasn't been worked yet, not a defect. Cycle it up and down a couple of times in your driveway before your first trip and it loosens up. Forcing a stiff hinge at a dark campsite is how people end up bending a leg strut instead of just breaking it in the way it wants to be broken in.
Step 4: Seat the first two crossbars, working from the easy side
Most folding cots use steel crossbars, usually two or three of them, that snap or drop into brackets running along the underside of the frame and pull the whole thing square and rigid. Start with whichever crossbar sits easiest by hand, usually one near the middle or one end. Line up the crossbar ends with their brackets and press down or snap them into place. You'll feel a clear seat when it's home, not a soft give.
Work your way down the frame one crossbar at a time rather than trying to force two in at once. Each crossbar you seat makes the frame a little more rigid and the next one a little easier to align, because the whole structure stops flexing under your hands. Rushing this step and trying to force a misaligned bar is how people bend a bracket, which is a real failure I've seen at a couple of sites over the years, always from someone in a hurry.
Step 5: The last crossbar is the one that pinches fingers, so slow down here
This is the step I want you to actually pay attention to. By the time you get to the final crossbar, the frame has almost no give left in it, which means you're forcing a rigid steel bar down into a bracket against real spring tension. That tension is what makes the cot stay square and solid once it's assembled, but it's also exactly where I've watched people pinch a finger between the bar and the bracket, hard enough to draw blood more than once on my loop.
Here's how to do it without getting hurt. Press down on the crossbar with the heel of your hand or the flat of your palm, not with your fingers wrapped around or underneath the bar. Keep your fingers on top of the bar, never curled under it or braced against the inside of the bracket where the bar is closing down. If the bar isn't seating with steady, even pressure, stop and check that the other crossbars are fully locked first, because a misaligned frame elsewhere makes the last bar fight you harder than it should. Never use your body weight to force it while your hand is still down near the bracket. Push, feel it seat, and pull your hand clear before you lean on it.
If you're setting up in the dark, this is the one step worth using your headlamp on directly rather than working by feel. I've told more first-time campers than I can count to just slow down on that last bar, and every single one of them thanked me for it afterward instead of getting pinched. If you've got kids helping set up camp, this is also the one step I'd take over myself rather than hand off, at least until they've watched you do it a few times and know exactly where to keep their hands.
Step 6: Check for square, then test it before you commit your gear
Once every crossbar is seated, give the frame a firm shake side to side and front to back. It should feel solid, not springy, and all four legs should sit flat on the ground without rocking. If one corner rocks, that's almost always ground unevenness rather than a frame problem, and it's worth shifting the whole cot a foot or two rather than trying to shim a leg with a rock, which never stays put through a full night.
Before you unroll a sleeping bag on it, sit on the edge and put your full weight down, then move to the center and do the same. The ARAER cot is rated to 450 pounds, and I've watched it hold up fine under campers well past what a standard cot claims, but I still test every cot I set up before I trust it with a full night's sleep. It takes ten seconds and it's the difference between finding a problem now, standing up, versus finding it at midnight, lying down.
What Else Helps
A few things I've picked up from watching hundreds of cots go up and down across a season. Practice the sequence once at home, in daylight, before your first trip. It sounds unnecessary, but the campers I watched fight a cot in the dark were almost always doing it for the first time under bad lighting, and those two problems compound each other. Five minutes in your driveway saves you a frustrated fifteen minutes at the campsite.
Fold it down the same way, in reverse. Pull the crossbars out starting from the one that went in last, working backward, then fold the leg frames down before you fold the fabric bed. Trying to fold a cot out of order fights the frame the same way assembling it out of order does. If you want the full rundown on how a cot like this compares to sleeping on the ground or on an air mattress, I wrote up ten reasons a camping cot beats ground sleeping that covers the comfort side of the argument.
Store the cot dry. If you fold it up wet from morning dew or a rained-out night, the fabric can mildew inside the bag before your next trip. I keep a small towel just for wiping down cot fabric before it goes back in the bag, and it's saved me from unpacking a musty cot more than once. For a full look at how this exact cot holds up over repeated setups and a season of use, I put together a long-term review of the ARAER Camping Cot covering the frame, the fabric, and where it eventually shows wear.
One last thing worth mentioning if you're setting up two or more cots for a family trip. Do them one at a time rather than laying all of them out flat at once and trying to work down the row. It's tempting to save steps, but a half-assembled cot with legs partly locked is exactly the kind of thing someone trips over walking past in the dark, and I've seen that happen more than once at sites with three or four cots going up at the same time. Finish one completely before you start the next.
The last crossbar is where I've watched more fingers get pinched than anywhere else on a campsite. Palm flat, fingers on top, pull clear before you lean on it. That's the whole trick.
Get a cot built to go together this fast
The ARAER Camping Cot's leg and crossbar system is straightforward enough to set up in under two minutes once you know the order, and it's rated to 450 pounds. Check today's price on Amazon and see if it's in stock for your next trip.
Amazon Check Today's Price on Amazon →