
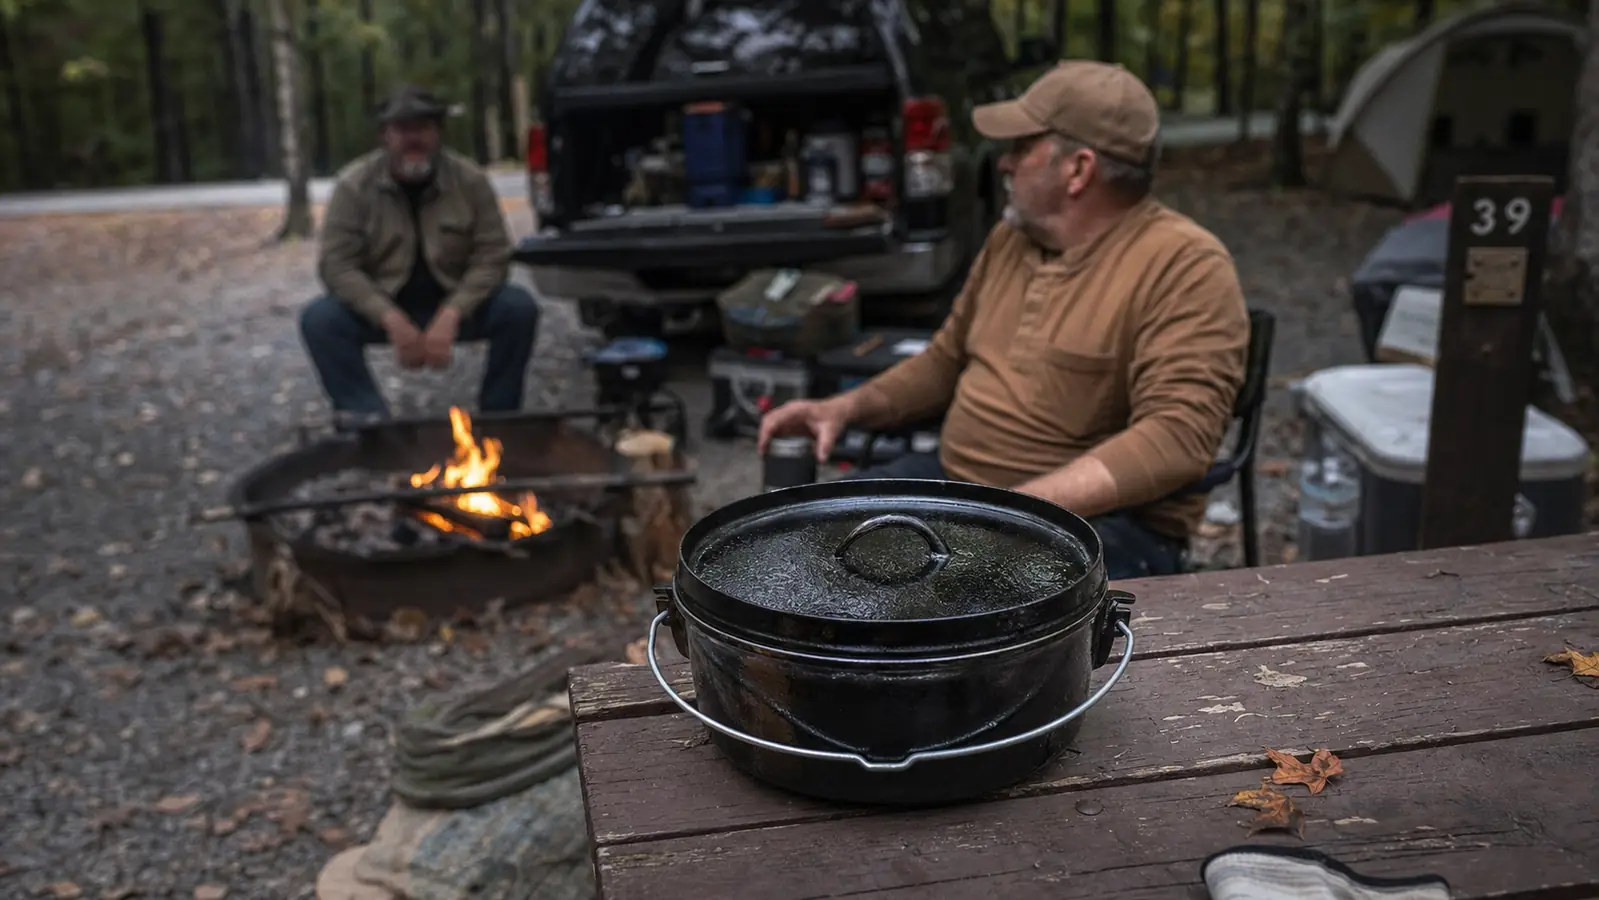
I've stood at more than one fire ring watching a brand-new camper stare at a dutch oven they'd just ruined. It's always the same story. They pulled it out of the box, saw it was a little dull, decided it needed more seasoning right away, slathered it in oil, baked it, and ended up with a sticky, tacky surface that grabs food instead of releasing it. They think they broke it. They didn't. They just put on too much oil at once, and that's the single most common mistake I've watched people make with cast iron in nine seasons of checking roughly forty occupied campsites a night.
If you just bought a Lodge Cast Iron Camp Dutch Oven, or you're about to, here's the thing nobody tells you at the store: it already comes seasoned. Lodge ships every dutch oven with a factory seasoning baked on, so your first job isn't stripping that off and starting over. It's building on what's already there, one thin layer at a time. This guide walks through exactly how I season and maintain the one I've used at my own host site for years, the mistakes I've watched other campers make with the same model, and how to fix it if you already made one of them before you ever found this page.
Don't season a dutch oven that's going to let you down at the campsite
The Lodge Cast Iron Camp Dutch Oven comes pre-seasoned out of the box and holds up to real campfire cooking better than anything I've watched at forty campsites a night. Check today's price on Amazon before your next trip.
Amazon Check Today's Price on Amazon →Step 1: Understand What You're Starting With
Before you touch a bottle of oil, wash the dutch oven once in hot water with a stiff brush, no soap needed and nothing abrasive like steel wool at this stage. You're not scrubbing off the factory seasoning, you're just getting off any dust or packing residue left over from shipping and the store shelf. Dry it right away, either with a towel or a couple minutes on low heat on the stove, because cast iron that air-dries on its own will flash rust in the time it takes you to walk away and do something else.
This is the step where I see people go wrong before they've even started cooking. A new Lodge pot looks a little matte and grayish compared to the glossy black cast iron you see in cooking magazines, and campers assume that means it isn't seasoned yet. It is. That matte look is normal for a factory-seasoned pot that hasn't had dozens of meals cooked in it. You're not fixing a problem here, you're adding a thin protective layer on top of a surface that's already functional, and that distinction matters for every step that follows. Skip this understanding and you'll end up doing more damage trying to fix something that was never broken.
Give the dual steel handles and the three-legged base the same once-over while you're at it. Those handles take the most abuse on the trail, banged against a tailgate or dragged across a fire grate, and a light coat of oil on the metal there keeps them from rusting even though nobody's eating off them. The legs are what let this dutch oven sit stable over coals instead of a grate, so check that all three are even before your first camp cook, not after you've got a lid full of coals balanced on it.
Step 2: Apply the Thinnest Coat of Oil You Can Manage
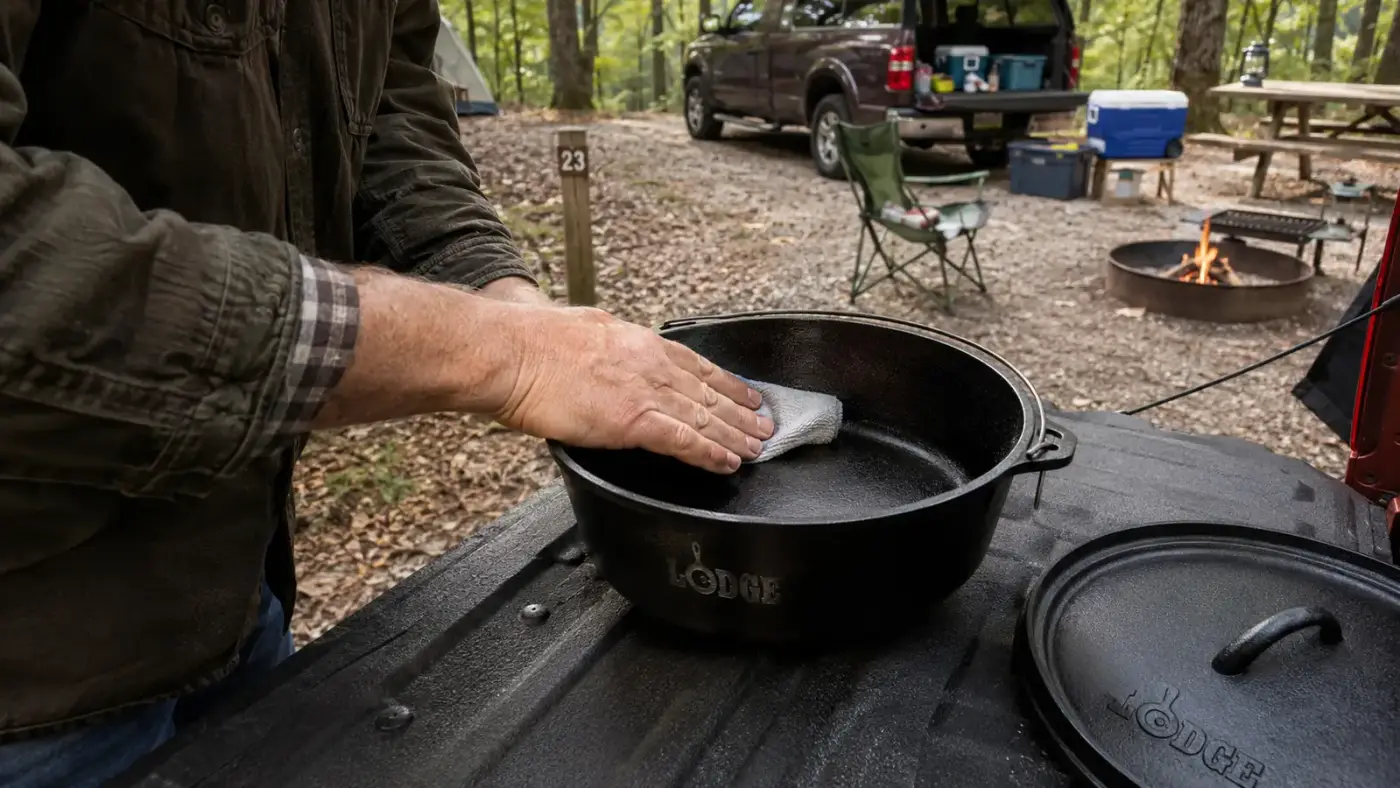
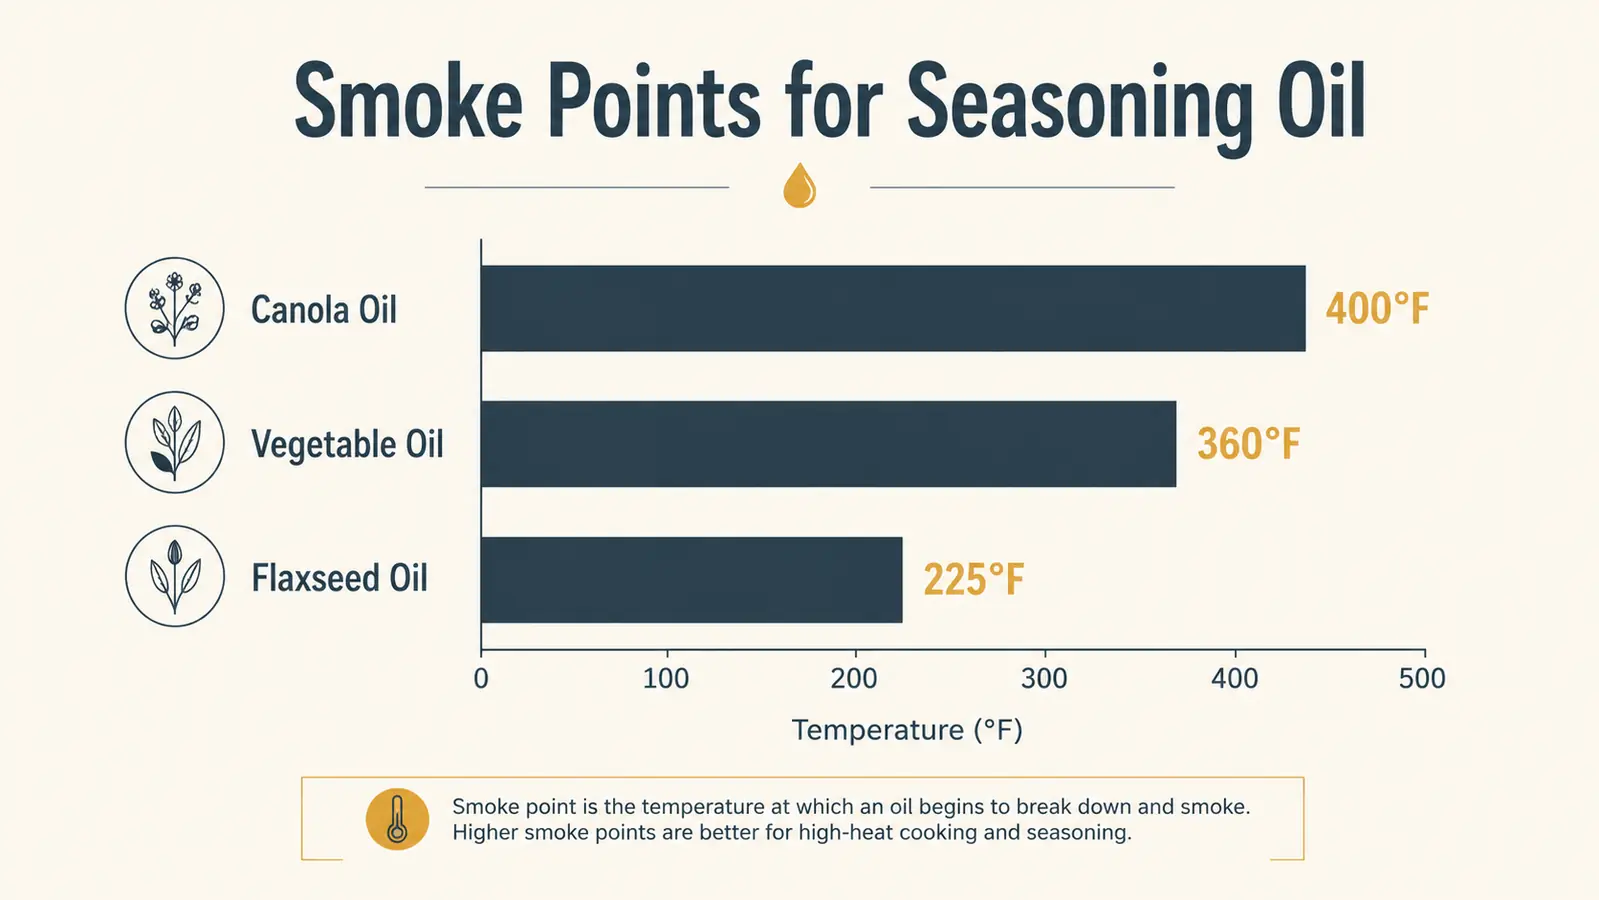
Pour a small amount of oil into the pot, a teaspoon is plenty for a 6 quart dutch oven, and rub it over every surface with a clean rag or paper towel, inside, outside, the legs, the lid, the handles, all of it. Plain vegetable oil or canola oil works fine for this. I've used both on my own gear over the years and never noticed a difference worth chasing a specialty oil over. Some campers swear by flaxseed oil because it polymerizes into a harder finish, and it does, but it's also more expensive and more finicky to work with, and I've gotten a perfectly good seasoning out of canola oil for less than the cost of a fancy bottle.
Now do the part that feels wrong the first time you do it. Take a fresh, dry rag and wipe the oil back off. Keep wiping until the surface looks almost dry, like there's barely anything left on it. That's correct. A coat that still looks wet or glossy is a coat that's going to turn gummy and sticky in the oven instead of curing into a hard, smooth finish. Every sticky dutch oven I've ever seen at a campsite came from someone who left the oil looking shiny because it seemed like more oil meant more protection. It's the opposite. Thin is what cures into a hard surface. Thick is what ruins a good pot and leaves you scrubbing off a gummy layer with a scraper next season.
Step 3: Bake It Upside Down and Let It Cool in Place
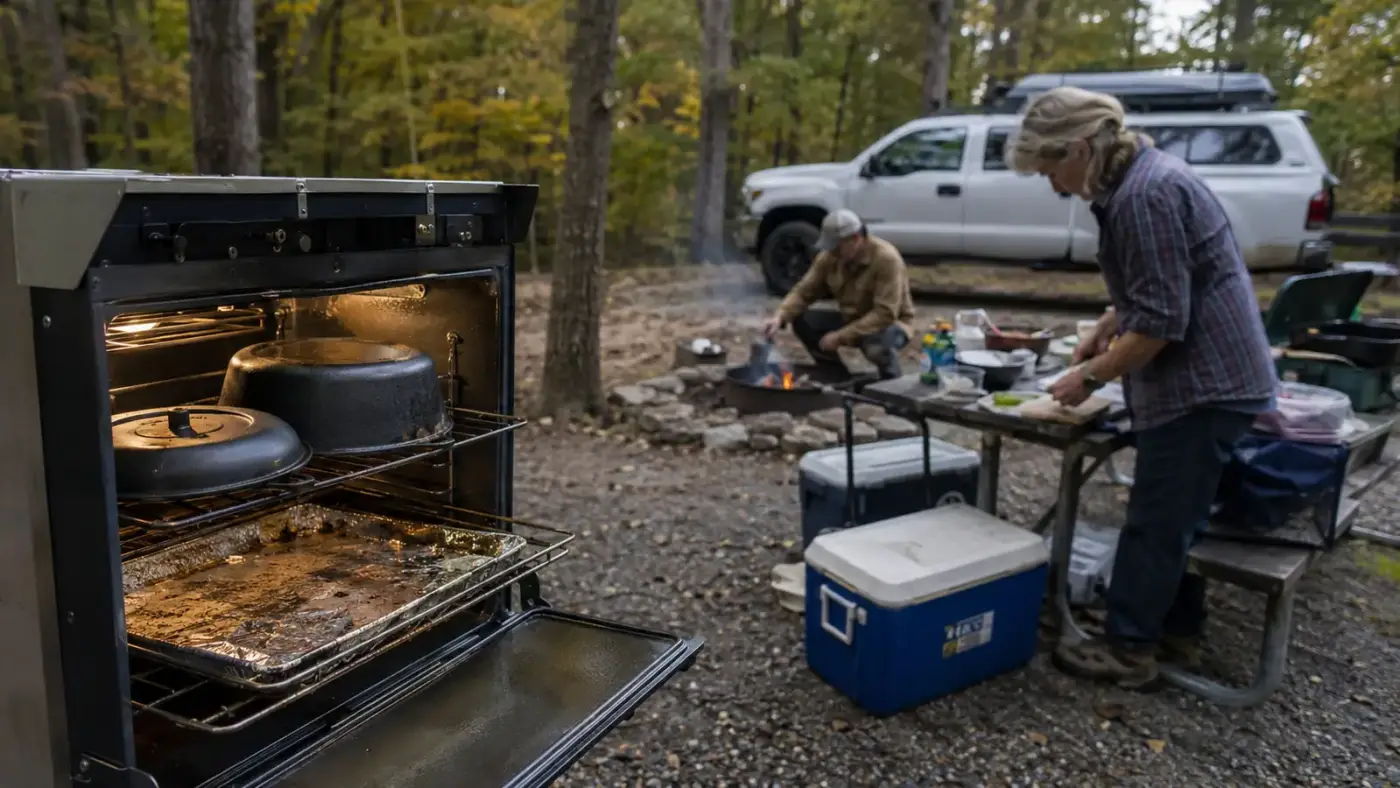
Set your home oven to somewhere in the 450 to 500 degree range, above the smoke point of whatever oil you used, and place the dutch oven upside down on the rack. Put a sheet of foil or a baking sheet on the rack below it first, because even a thin coat will drip a little as it heats up past the smoking point, and you don't want that landing and burning onto your oven floor. Bake it for about an hour.
Season the lid the same way, separately, since it's its own piece of cast iron with its own surface to protect, and it takes just as much heat abuse over coals as the pot itself. When the hour is up, turn the oven off and leave the dutch oven inside until it cools down on its own with the door shut. Pulling a hot cast iron pot straight into cooler kitchen air can cause the new seasoning to crack or flake before it's fully set, so give it the time rather than rushing to get it back in the cabinet. I usually do this in the evening and just leave everything in the oven overnight, then find it cool and ready the next morning.
One thin coat is enough to maintain what Lodge already gave you at the factory, but if you want to build up extra protection before a first big camping trip, you can repeat this step two or three times back to back. Same rule every time: thin coat, wipe it back until it looks almost dry, bake it, let it cool in place before you touch it. Three thin coats will always outperform one thick one, and it doesn't cost you anything but a little extra oven time on a weekend before you leave.
Step 4: Let Real Campfire Meals Finish the Job
Seasoning isn't something you finish in your kitchen and then forget about. It keeps building every time you cook in the pot, layer on layer, meal after meal. For the first several meals, I lean toward fatty foods, bacon, sausage, cornbread with butter worked into the batter, anything that puts a little extra oil into the pot naturally while it cooks over coals. I hold off on heavy tomato-based dishes like chili or a long-simmered sauce for the first few uses, since the acid in tomatoes can eat into a seasoning layer that hasn't fully built up yet. After a handful of meals, that's much less of a concern and I've cooked chili in mine plenty of times since.
This is also where I'll say something plainly, because I've watched it go wrong on my own loop more than once. Hot cast iron looks exactly like cold cast iron. There's no color change, no warning sign, nothing that tells you at a glance whether a dutch oven has been sitting in coals for forty minutes or sitting untouched on a picnic table all afternoon. I've seen campers grab a lid bare-handed because it looked the same as it did an hour earlier, and I've walked more than one person to the first aid kit at the ranger station over it. Use real leather gloves and a lid lifter, not oven mitts that were made for a kitchen and not a fire ring, and never set a hot dutch oven directly onto a picnic table cloth, dry grass, or anything else that can scorch. That's basic campfire cooking safety, and it matters more with cast iron than with anything else you'll pack for a trip.
Step 5: Handle Rust and Storage Between Trips
If your dutch oven comes back from a trip with a patch of rust on it, that's not a ruined pot, that's a normal setback and it's fully recoverable, so don't throw it in the trash over it like I've watched a couple campers do out of frustration. Scrub the rust off with steel wool or a chainmail scrubber down to bare metal in that spot, dry it completely, including a few minutes on low heat on the stove to drive off any hidden moisture in the pores of the iron, and re-season it the same way you did the first time, one thin coat, baked upside down until it cures. I've brought pots back from worse than a little surface rust, including one I found left out in a week of Ozark rain, and it cooked just fine after a re-season.
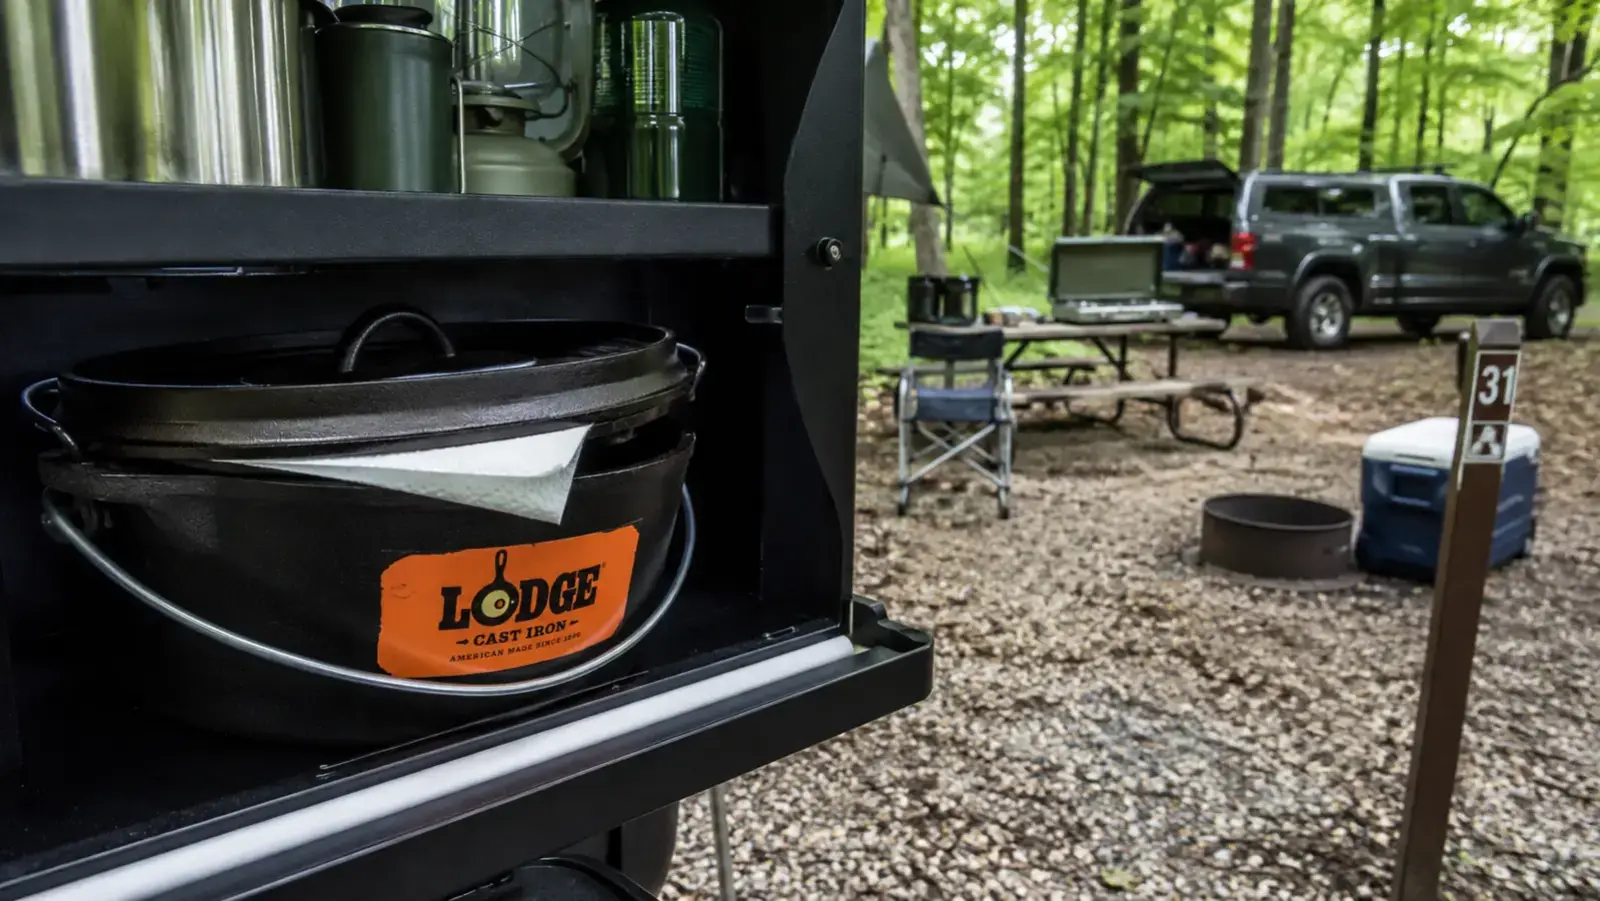
The best fix for rust is not needing one, and that comes down to storage. Never seal a damp cast iron dutch oven inside a tight-fitting lid, especially camping gear that spends most of its life in a truck bed or a trailer cabinet where humidity swings around far more than it does in a climate-controlled house. Store it with the lid set slightly ajar, or with a folded paper towel wedged between the lid and the rim as a spacer, so air can actually move through the pot between trips. A sealed, damp camp oven sitting untouched in a cabinet for a few weeks between trips is exactly how I've seen good cast iron come back rusted, and it's one of the easiest problems on this whole list to avoid entirely.
What Else Helps
A stiff brush for cleanup, a bottle of plain oil, and a set of real leather gloves cover most of what you need to keep a cast iron dutch oven working for years of camping trips. A canvas storage bag helps too, mostly to keep the outside from scuffing whatever else is riding next to it in the truck bed, though I wouldn't call it essential the way I would the gloves. If you're weighing whether cast iron is even worth the extra seasoning and rust care compared to enameled cookware, I've laid out that whole tradeoff in a side-by-side comparison of cast iron versus enameled dutch ovens. And if you want to see what a well-seasoned Lodge dutch oven can actually do at a real campsite once it's broken in, I put together ten reasons a cast iron dutch oven earns its spot in the truck bed that go beyond just seasoning technique.
The pot doesn't fail. The thick coat of oil fails. I've watched that mistake ruin more first-time dutch ovens than bad campfires ever have.
Start your dutch oven off right, not scrubbing off a sticky mess in month one
The Lodge Cast Iron Camp Dutch Oven arrives pre-seasoned and ready to build on, exactly the starting point this guide assumes. Check today's price on Amazon and get it seasoned before your next trip.
Amazon Check Today's Price on Amazon →